How to Prevent Ice Dams on Your Roof This Winter
9 Min Read
POSTED 10.10.2026
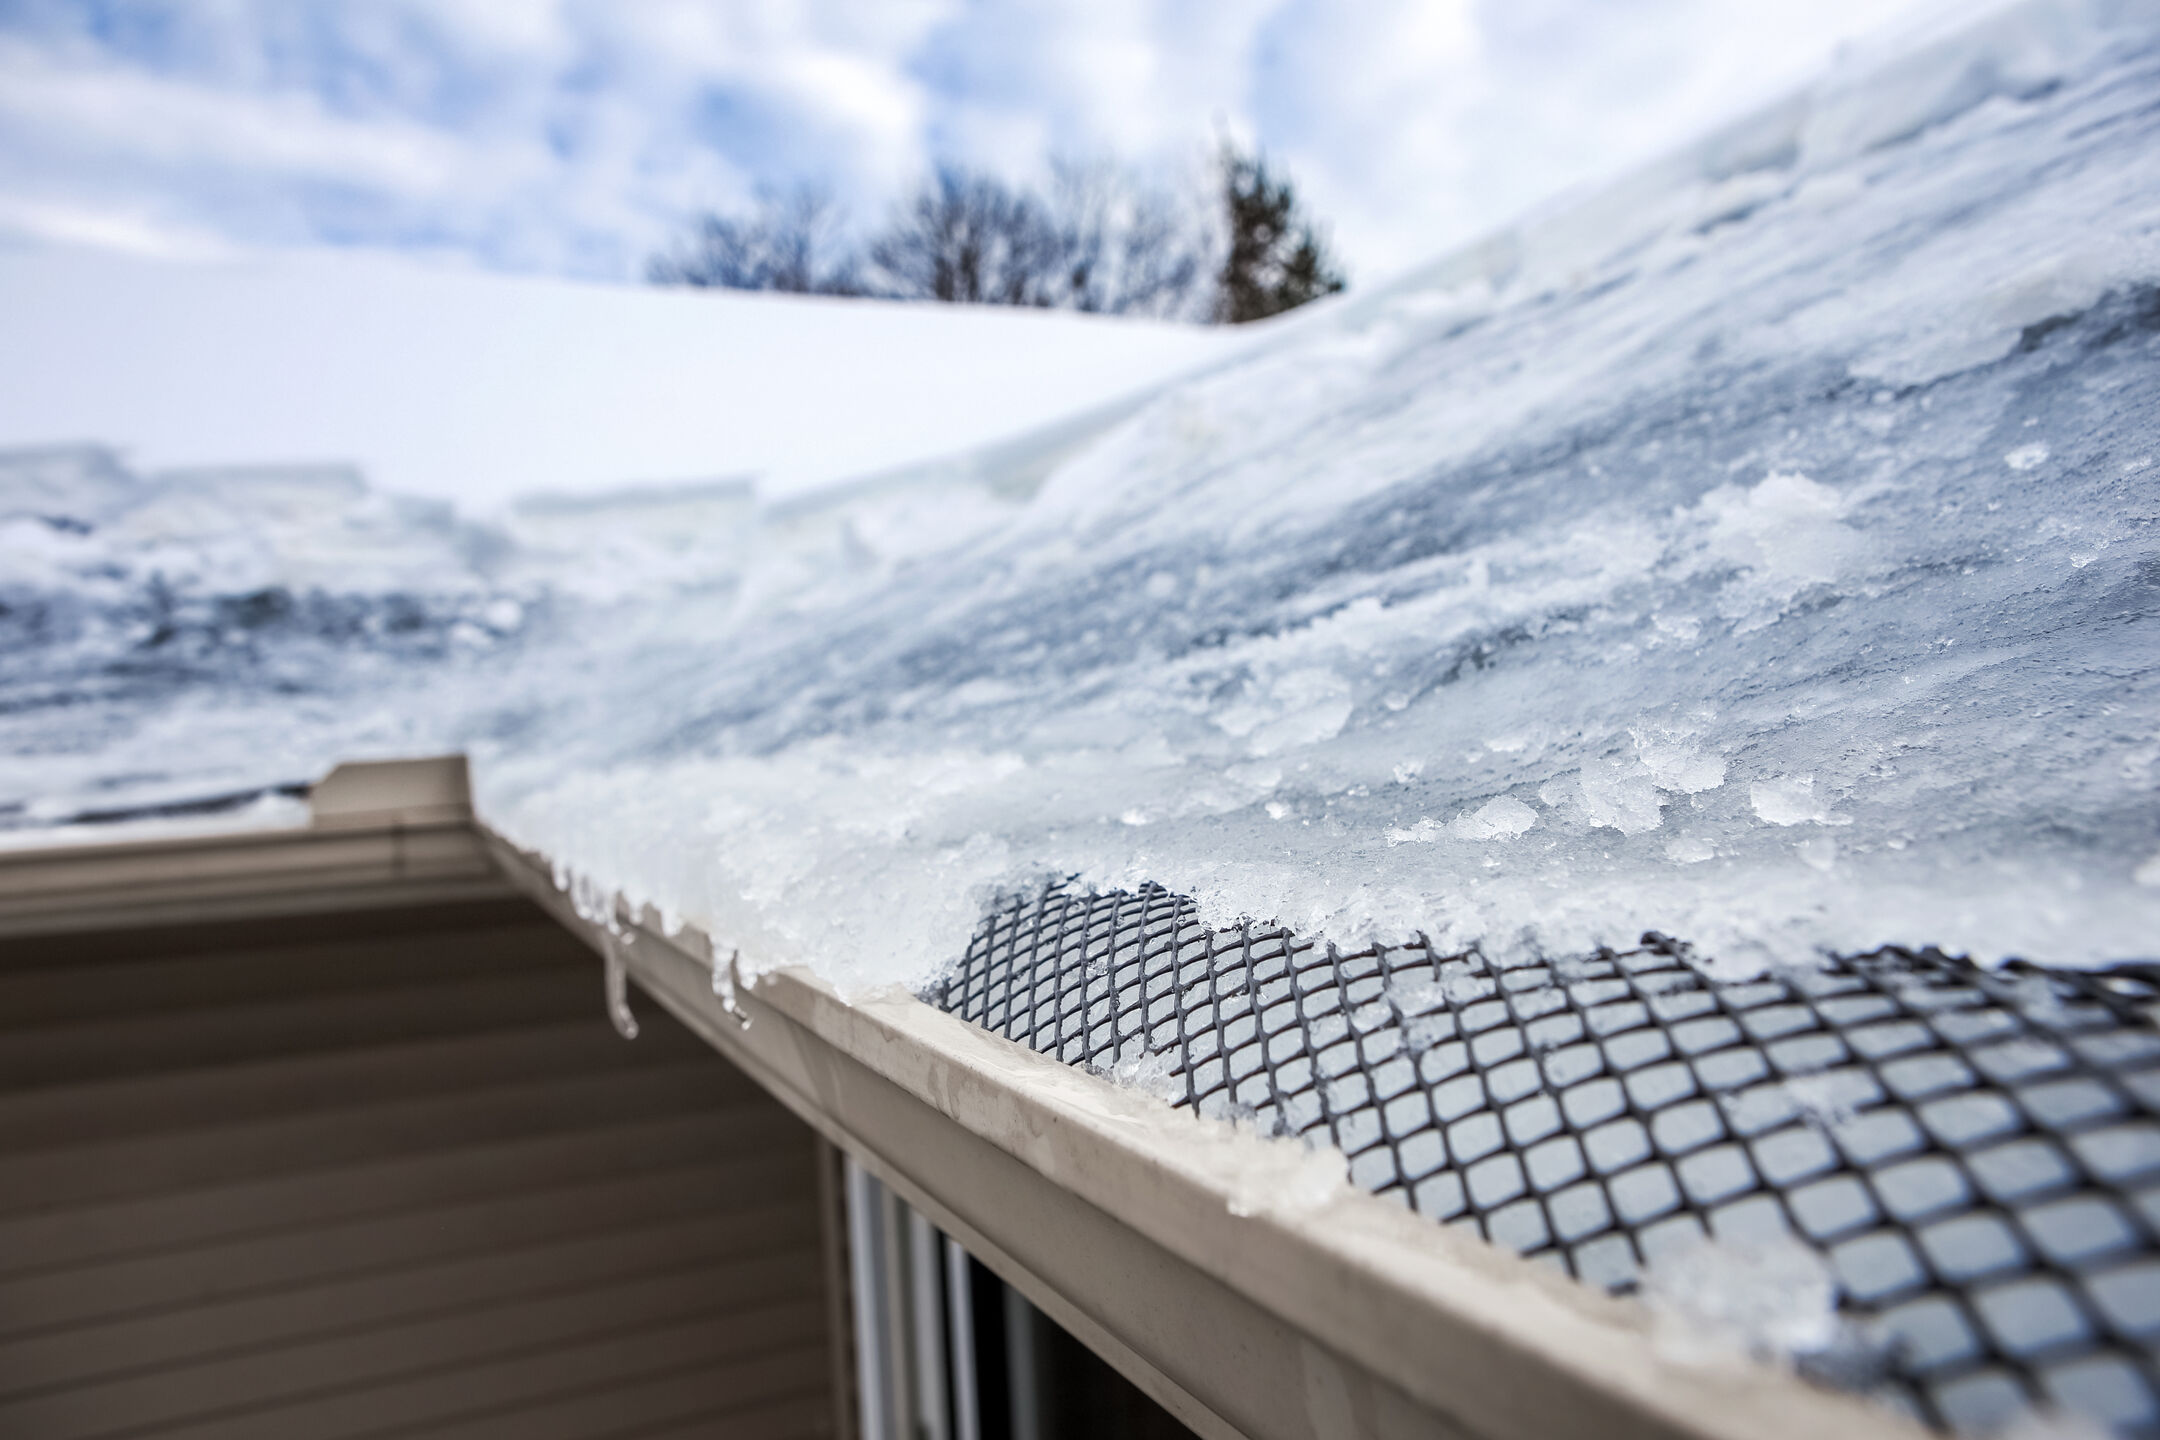
Knowing how to prevent ice dams is one of the most valuable skills a Wisconsin homeowner can develop before winter arrives. Ice dams are not a weather problem; they’re a building performance problem that shows up because of weather, and the homes that avoid them year after year are the ones where the three underlying causes have been addressed through proper air sealing, insulation, and ventilation. Prevention costs a fraction of ice dam damage, and the strategies that work in Wisconsin’s climate are the same ones that pay dividends in energy savings all winter long. If you’re coming off a bad winter with ice dam damage and want a professional assessment of what’s driving the problem, storm damage inspections from a contractor who understands cold-climate roofing is the right place to start.
Here is what this guide covers:
- Why ice dam prevention matters for Wisconsin homeowners
- The 6 most effective ways to prevent ice dams
- Common mistakes homeowners make trying to prevent ice dams
- When to call a professional for ice dam prevention
- Common questions Wisconsin homeowners ask about preventing ice dams
Why Prevention Beats Treatment Every Time
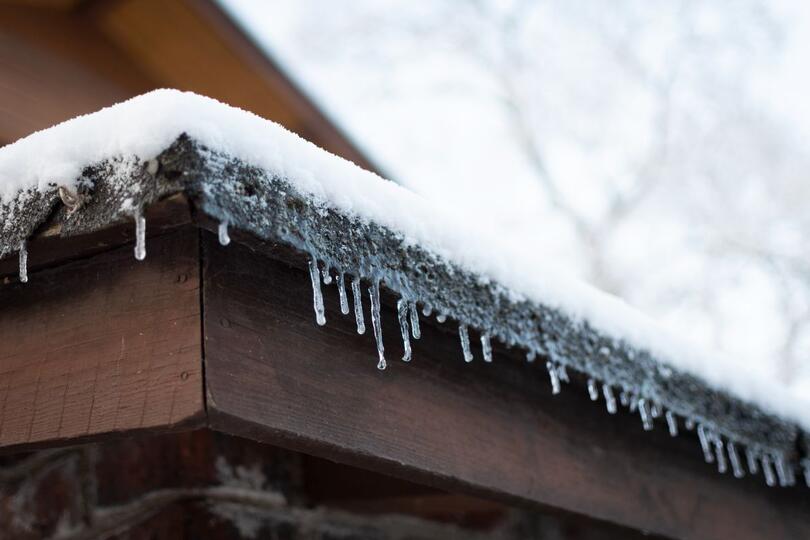
Once an ice dam has formed, your options narrow quickly. Steam removal costs $600 to $2,400 per event, roof rakes only address visible snow, and interior water damage from a single ice dam event can easily reach $5,000 to $10,000 or more. Prevention is always cheaper, and in Wisconsin it’s also more reliable because the conditions that cause ice dams repeat every winter without fail.
According to the Insurance Information Institute, about one in 60 insured homes has a property damage claim caused by water damage or freezing each year, with winter weather being a leading contributor to those losses. Wisconsin homes experience those conditions annually, which means prevention is not a luxury; it’s a baseline requirement for protecting the home.
We’re proud to serve homeowners in Oregon, WI, and nearby communities with roof inspections, ice dam damage assessments, and full roof replacement services.
6 Proven Ways to Prevent Ice Dams This Winter
These are the prevention strategies that actually work. Addressing all six gives Wisconsin homeowners the strongest possible protection against ice dam damage.
1. Air Seal the Attic Floor
The single biggest cause of ice dams is heated air leaking from the living space into the attic. Once warm air enters the attic, it heats the roof deck from below, melts snow, and starts the cycle that forms ice dams. Sealing air leaks before adding insulation is the highest-impact prevention step a homeowner can take.
- Target recessed light fixtures: Non-IC rated fixtures and gaps around trim are major air leak points.
- Seal plumbing and electrical penetrations: Every pipe, wire, and vent that passes through the ceiling needs to be sealed with appropriate caulk or spray foam.
- Weatherstrip the attic hatch: The attic access hatch is often the single largest air leak in the home.
- Address chimney and chase openings: Framed openings around chimneys and mechanical chases allow significant air movement when not properly sealed.
2. Insulate to R-49 to R-60
Wisconsin’s climate places most of the state in Climate Zone 6, where ENERGY STAR recommends R-49 to R-60 attic insulation. Many older Wisconsin homes have R-19 to R-30, which is dramatically undersized for ice dam prevention and winter energy performance.
- Measure before you buy: Fiberglass batts provide R-3.2 to R-4.3 per inch; blown-in cellulose provides R-3.2 to R-3.8 per inch.
- Target 14 to 18 inches of blown-in insulation: This brings most Wisconsin attics to R-49 or above.
- Address thin spots and gaps: Insulation that stops short of the eaves, is compressed, or has gaps around framing significantly reduces performance.
- Consider blown-in over batts: Blown-in cellulose or fiberglass fills gaps and irregularities better than batts and can be added on top of existing insulation.
3. Verify Attic Ventilation Is Working
Even a well-insulated attic needs proper ventilation to keep the roof deck cold. Ventilation works by allowing outdoor air to circulate through the attic, keeping the roof surface at outdoor temperature so snow doesn’t melt from below.
- Confirm soffit vents are clear: Insulation baffles should maintain a clear airflow channel above the insulation at every soffit vent.
- Check ridge vents: Ridge vents should be intact, unobstructed, and running the full length of the ridge where installed.
- Balance intake and exhaust: Wisconsin building code requires balanced ventilation with both soffit intake and ridge or gable exhaust working together.
- Address blocked vents: Birds, insects, and debris can block vents over time; a quick annual inspection catches these issues.
4. Install or Verify Ice and Water Shield
Ice and water shield is the self-adhering waterproof membrane installed under shingles at the most vulnerable areas of a roof. On a Wisconsin roof, it’s the last line of defense against ice dam water infiltration.
- Required by Wisconsin code at eaves: Current code requires ice and water shield extending at least 24 inches inside the exterior wall line.
- Install in valleys and around penetrations: Best practice extends coverage beyond code minimum for Wisconsin conditions.
- Can only be added during roofing projects: Ice and water shield installs under shingles, so adding it requires a full re-roofing.
- Lasts the life of the shingles: Quality ice and water shield matches the lifespan of the roofing system above it.
5. Keep Gutters and Downspouts Clear

Clogged gutters contribute to ice dam formation by preventing water from draining off the roof edge, where it then freezes into ice at the eaves. Fall gutter cleaning is a prevention essential.
- Clean before the first freeze: All leaf and debris accumulation must be cleared by mid-November in south-central Wisconsin.
- Check gutter attachment: Loose or sagging gutters pool water that freezes and worsens ice dam formation.
- Confirm downspout extensions: Downspouts should direct water at least 4 to 6 feet from the foundation to prevent ice buildup.
- Consider gutter guards: Micro-mesh gutter guards reduce the need for frequent cleaning and maintain drainage performance through winter.
6. Manage Snow Load After Major Storms
Even with all other prevention measures in place, exceptionally heavy snowfall can create ice dam conditions if left to melt and refreeze on the roof. A roof rake used from the ground after major storms removes the fuel that feeds ice dam formation.
- Rake the lower 3 to 4 feet of the roof: This is where ice dams form, and clearing snow here prevents the melt-refreeze cycle.
- Never climb on a snow-covered roof: Use a long-handled roof rake from the ground only.
- Rake after storms, not during: Wait until the storm has passed and conditions are safe.
- Avoid damaging shingles: Keep the rake moving smoothly; dragging can lift or damage shingle edges.
Common Mistakes Wisconsin Homeowners Make
Even well-intentioned ice dam prevention efforts can backfire if the wrong approach is taken. These are the mistakes to avoid.
- Adding insulation without air sealing first: Insulation does little good when warm air flows around it through gaps. Air sealing comes before insulation, every time.
- Relying on heat cables as a primary solution: Heat cables can help in specific spots but don’t address the underlying warm-attic problem that causes ice dams. They’re a treatment, not a cure.
- Using salt or chemical de-icers on the roof: Both damage shingles and gutters and don’t solve the temperature problem that causes ice dams.
- Trying to chip ice off the roof: This almost always damages shingles and underlayment, voiding manufacturer warranties and creating new leak points.
- Ignoring ventilation while focusing on insulation: Both are required; neither alone is sufficient for ice dam prevention.
- Waiting until ice dams form to act: Once an ice dam exists, you’re in damage control. The right time to act is before winter arrives.
When to Call a Professional
Some ice dam prevention tasks require professional expertise. These are not DIY projects for most homeowners:
- Attic air sealing beyond simple caulking: A professional energy audit identifies the full map of air leaks for comprehensive sealing.
- Insulation upgrades to R-49 or R-60: Blown-in insulation requires equipment and training to install correctly.
- Ice and water shield installation or verification: Requires roof access and installation under shingles.
- Ventilation upgrades: Adding ridge vents or correcting insufficient soffit ventilation requires roofing expertise.
- Any work requiring roof access: Winter roof access is dangerous; leave it to professionals with proper equipment.
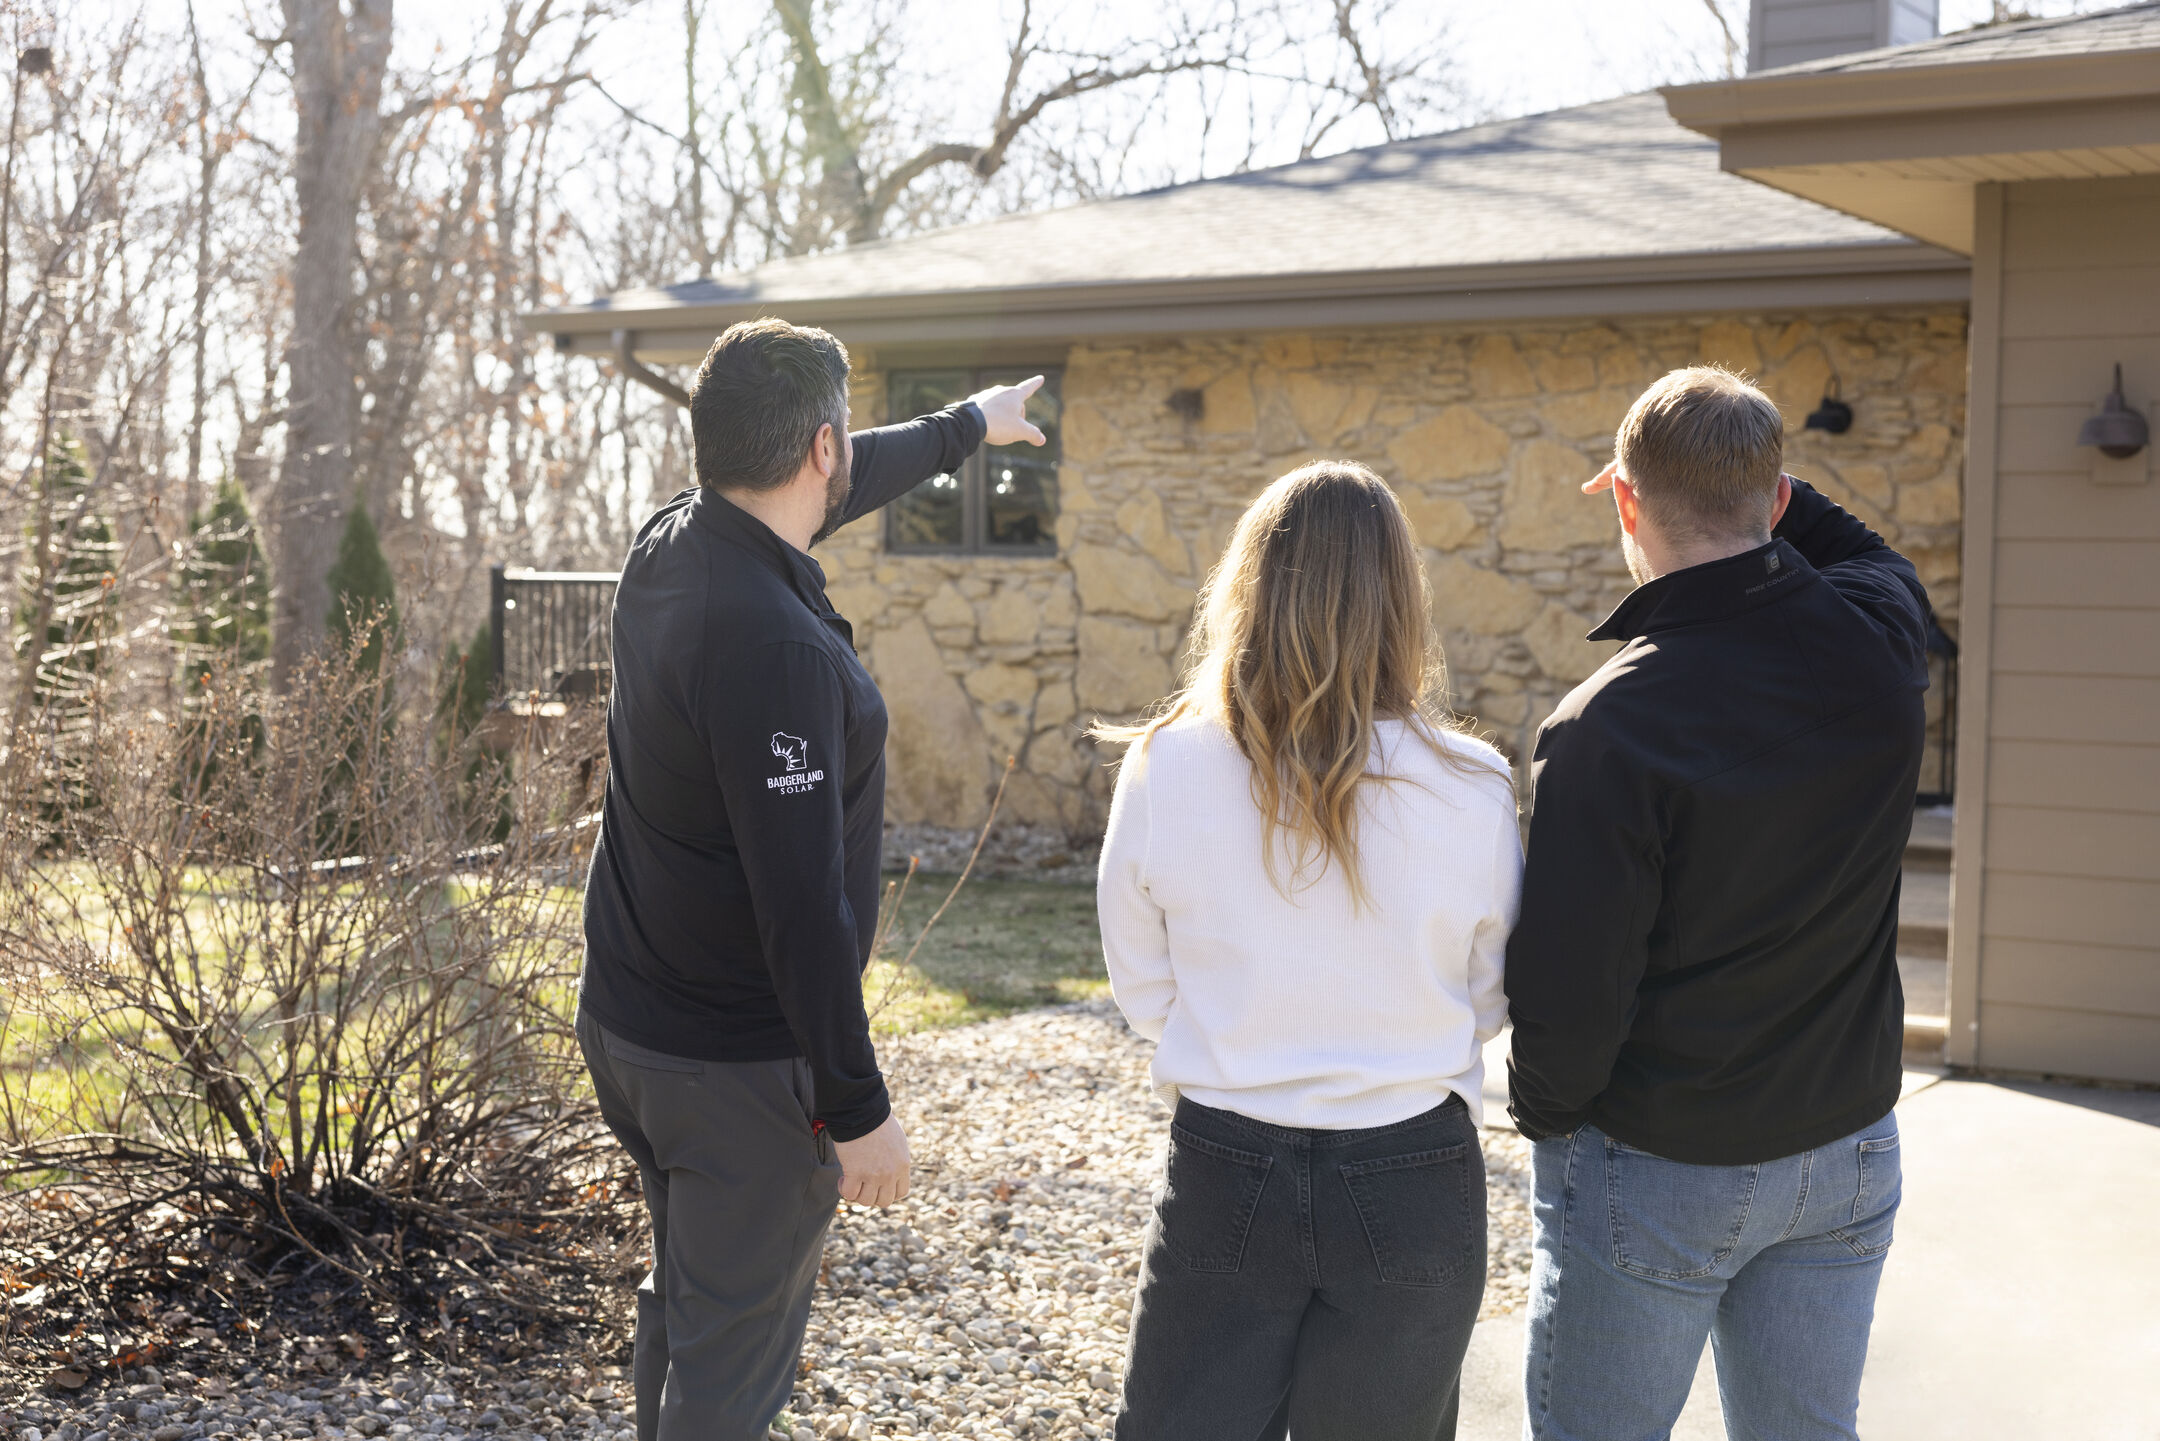
Badgerland Exteriors provides free roof inspections that identify ice dam risk factors and recommend prevention measures tailored to your specific home.
Frequently Asked Questions About Preventing Ice Dams

Wisconsin homeowners planning winter preparation tend to ask the same questions. Here are direct answers.
What’s the single most effective way to prevent ice dams?
Air sealing the attic floor. The underlying cause of ice dams is heat escaping from the living space into the attic, where it warms the roof deck and melts snow. Insulation and ventilation matter, but neither works properly if warm air is bypassing them through unsealed gaps. Air sealing comes first.
How much does ice dam prevention cost in Wisconsin?
Comprehensive prevention including air sealing, insulation to R-49 or R-60, and ventilation verification typically runs $1,500 to $5,000 depending on home size and existing conditions. That’s a fraction of the $5,000 to $25,000+ that significant ice dam damage can cost over multiple winters.
Do heat cables actually prevent ice dams?
They help in specific situations but don’t address the underlying cause. Heat cables keep a narrow channel of the roof edge clear so water can drain, but they don’t stop ice dams from forming. For most Wisconsin homes, properly sealing, insulating, and ventilating the attic is more effective and more economical long-term.
Can I prevent ice dams on an older Wisconsin home?
Yes. Older homes often lack adequate insulation, air sealing, and sometimes ice and water shield, but all of these can be upgraded. The investment pays back in both energy savings and avoided ice dam damage. A professional assessment identifies which improvements will have the greatest impact on your specific home.
Does Badgerland Exteriors help with ice dam prevention?
Yes. Badgerland provides free roof inspections that assess ventilation, insulation, and ice and water shield coverage, and recommends roofing-related upgrades to prevent ice dams. For attic insulation and air sealing specifically, we partner with specialists to address the complete picture.
Protect Your Wisconsin Home From Ice Dams With Badgerland Exteriors
Ice dam prevention is one of the highest-impact investments a Wisconsin homeowner can make, and the right time to make it is before winter arrives. Badgerland Exteriors has been helping Oregon homeowners and their neighbors across central Wisconsin prevent ice dam damage since 2009, with free inspections, honest assessments, and roofing solutions built for Wisconsin winters.
Request your free roof assessment from Badgerland Exteriors today.
Let’s Get Started
Fix Your Roof the Badger Way
Got a question? Want to learn more about your options when it comes to caring for your home exterior? Our team is standing by with the information you need to start you roof replacement project today!